
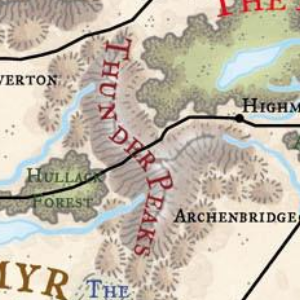
Mountains Pt. 3 - Putting the icing on top
Time to finish the climb by adding the last details to the mountain features. The flanklines created in the previous post give a decent indication of the 3D shape of a given mountain, but we can do better.
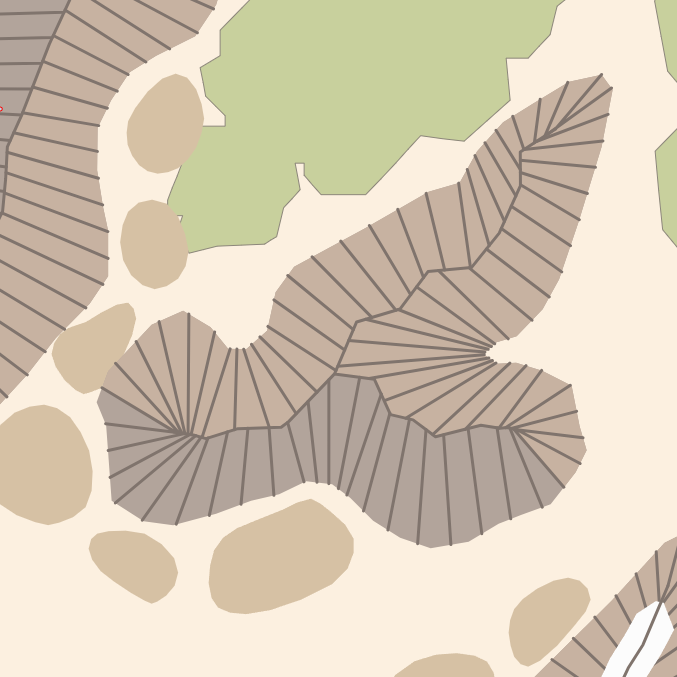
The shading of terrain, i.e., showing flanks illuminated by a virtual sun in a brighter color than the shadowed side, has long been used by map makers to create more intuitive maps. The 3.5e map is no different. Flank lines on the north to eastern sides of mountains are broken up in the middle to give a brighter appearance. These sides also have a lighter background color. This indicates that the sun is assumed to be in the northeastern position, which is one of the two most common map drawing configurations (here’s an excellent article going into the details of common relief shading in maps). To get the shading perfectly correct, we could use 3d rendering software like Blender.
Fortunately, the 3.5e map’s shading is itself not very consistent, so our recreation can also use approximations to create visually similar output without having to resort to complex 3d rendering.

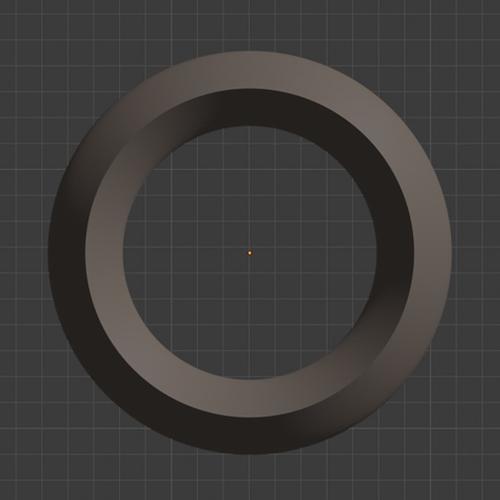
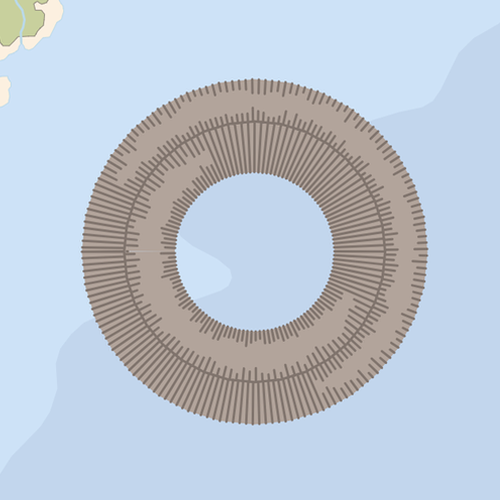
For the flanklines, this is relatively easy. Each flankline can be interpreted as the slope direction of the flank in the areas next to the line. A flankline is effectively a 2D vector pointing from the outline to a mountain’s ridge. We can also define the direction of the sunlight as a vector from NE to SW. If the vectors point close to the same direction, the mountain side is illuminated and flanklines should be broken up. If vectors point in opposite directions, flanklines should remain continuous to mimic shadowing. We can then define a transition zone at flanklines perpendicular to the light direction, where the gap between broken flanklines closes for a smoother aesthetic look. This is a rather simple light model based on basic vector calculations. Let’s create a ringshaped mountain as a test scenario:

What stands out is that things look a bit to “clean”. We can break up the monotonous look by adding a bit of randomness, or let’s say pseudo-randomness. Ideally, generated map features should look the same as long as we do not change their underlying shape, so the random number for a given line has to be the same every time we split it for illumination. We’ll use a trick here. While adjacent points in the map share the first few digits of their coordinates, the farther we go into the decimal digits, the more random they appear. So by varying each flankline break by the least significant digit of one of the line coordinate numbers, we get a value that is kind of random but still the same whenever we look it up. (This assumption breaks if the outline of the mountain exactly follows a latitude line for some distance, but let’s not worry about that here…)
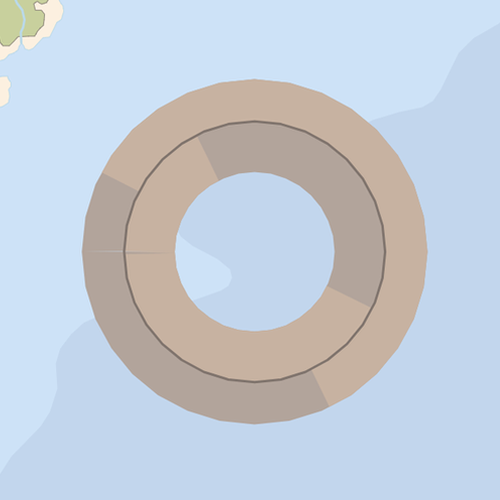
This looks a bit better. Let’s add shading to the background as well. The exact boundary between shaded and illuminated sides has a complex shape that is hard to calculate without going to full 3D rendering. Instead, we will create polygons enveloping the illuminated flanklines, which is a very crude approximation, but it still enhances the visual style of the terrain.

Further line cleanup
The new split flanklines give us the chance to further improve line spacing. By checking line proximities of each segment we can skip lines that would cause unwanted shading by having many lines clumped close together, e.g. at fan structures often present at the end points of flanklines. We can also use this concept the shorten unbroken flanklines to avoid clumping on shaded mountain sides.

The mountain sandwich
With all that, we have all the required layers to build complete mountains. From top to bottom, they are:
- Volcano smoke
- Volcano crater ridges
-
Volcano lava (above coloring layers to avoid green lava and smoke)
- Ridgeline(s)
- Flanklines
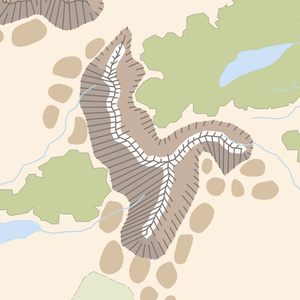
- Snow cover
- Bright mountain flanks
- Dark Mountain background
With all extra data generated we can return to the svg editor and add filters for the finished style. The main goal is to add distortions to the straight flanklines and we already have a filter for that in place from the outlines of the hills terrain. The remaining background and line geometries just get a slight blur applied to soften their edges.

But wait… i snuck in the snow cover and volcano styles, so let’s briefly talk about those.
Sugar on top
I had forgotten about it in the All the data post, but a few mountains have snow cover along their ridge. We can draw each snow field as a polygon and then heavily blur it to reach the desired visual effect with good enough control over the width. This layer has to be below the flanklines in order to keep the contrast between lines intact.
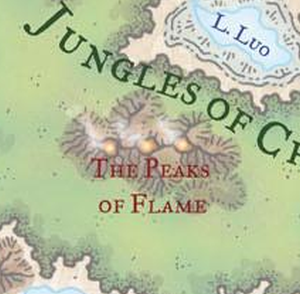
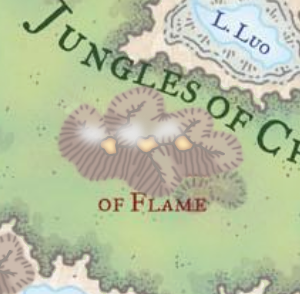
On top of everything are the few volcano craters of Faerun. Visually, these are rather simple. We can use the ridgeline style for the outline and create a bright yellow fill with a brownish red inner glow from the border of the shape. To simulate the smoke plume, we just take the crater shape, color it light gray, shift it a bit northwest, and heavily blur it. We just have to make sure that the smoke and lava shapes are among the top layers to avoid coloring by, e.g., the forest tint layer.
So where to go from here. I am at this point almost finished with the map and behind on creating posts, so the next one will be a rapid fire one going over multiple terrain types at once.